Practical Start for Fleet Operators
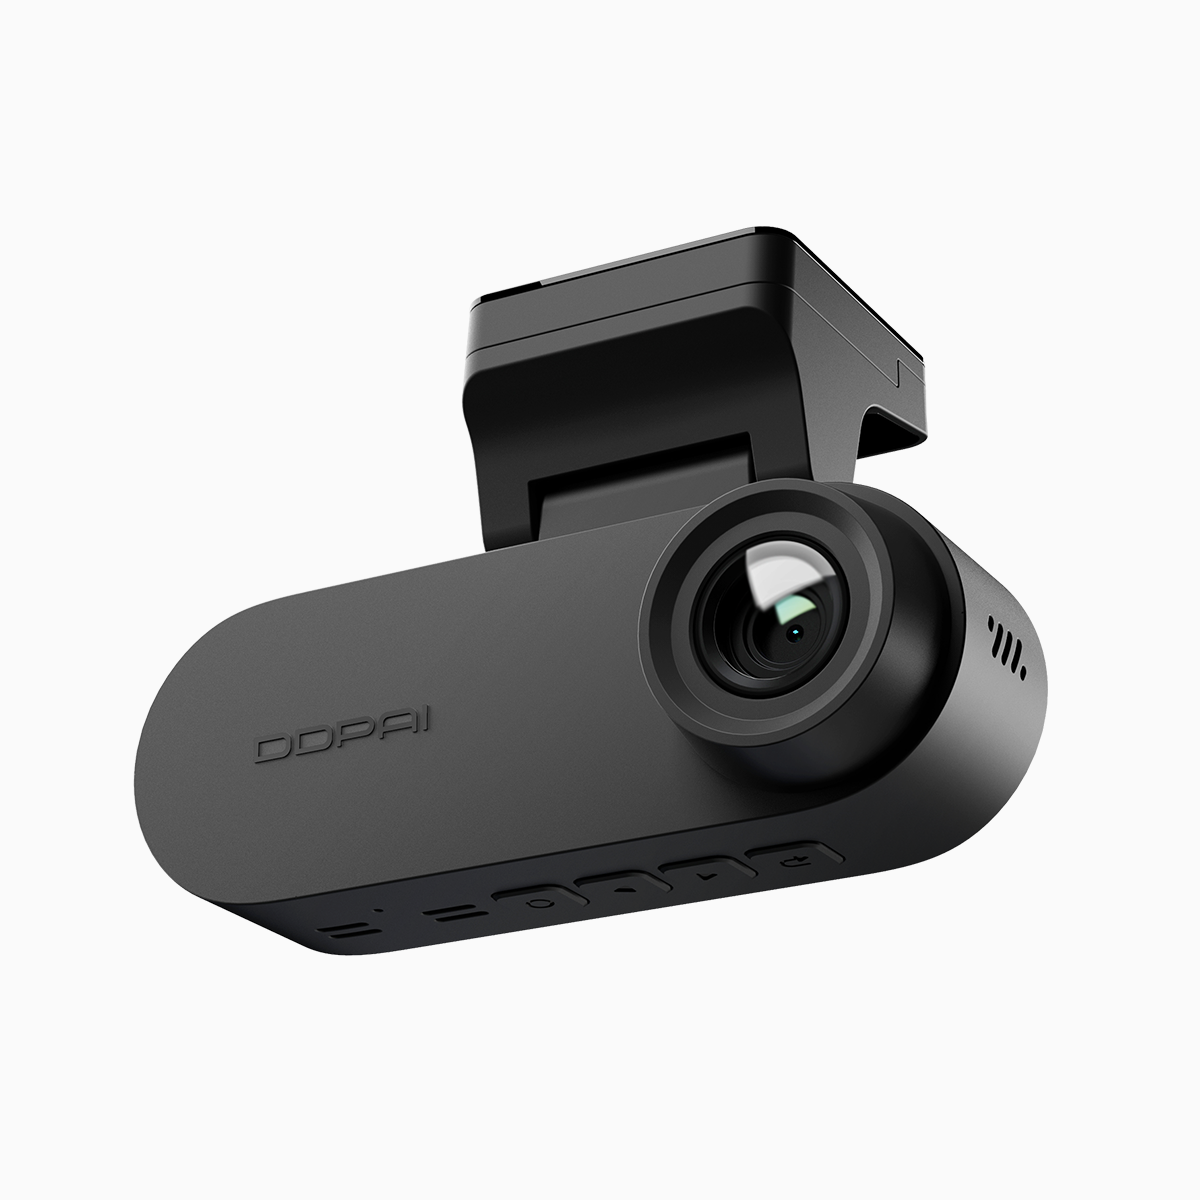
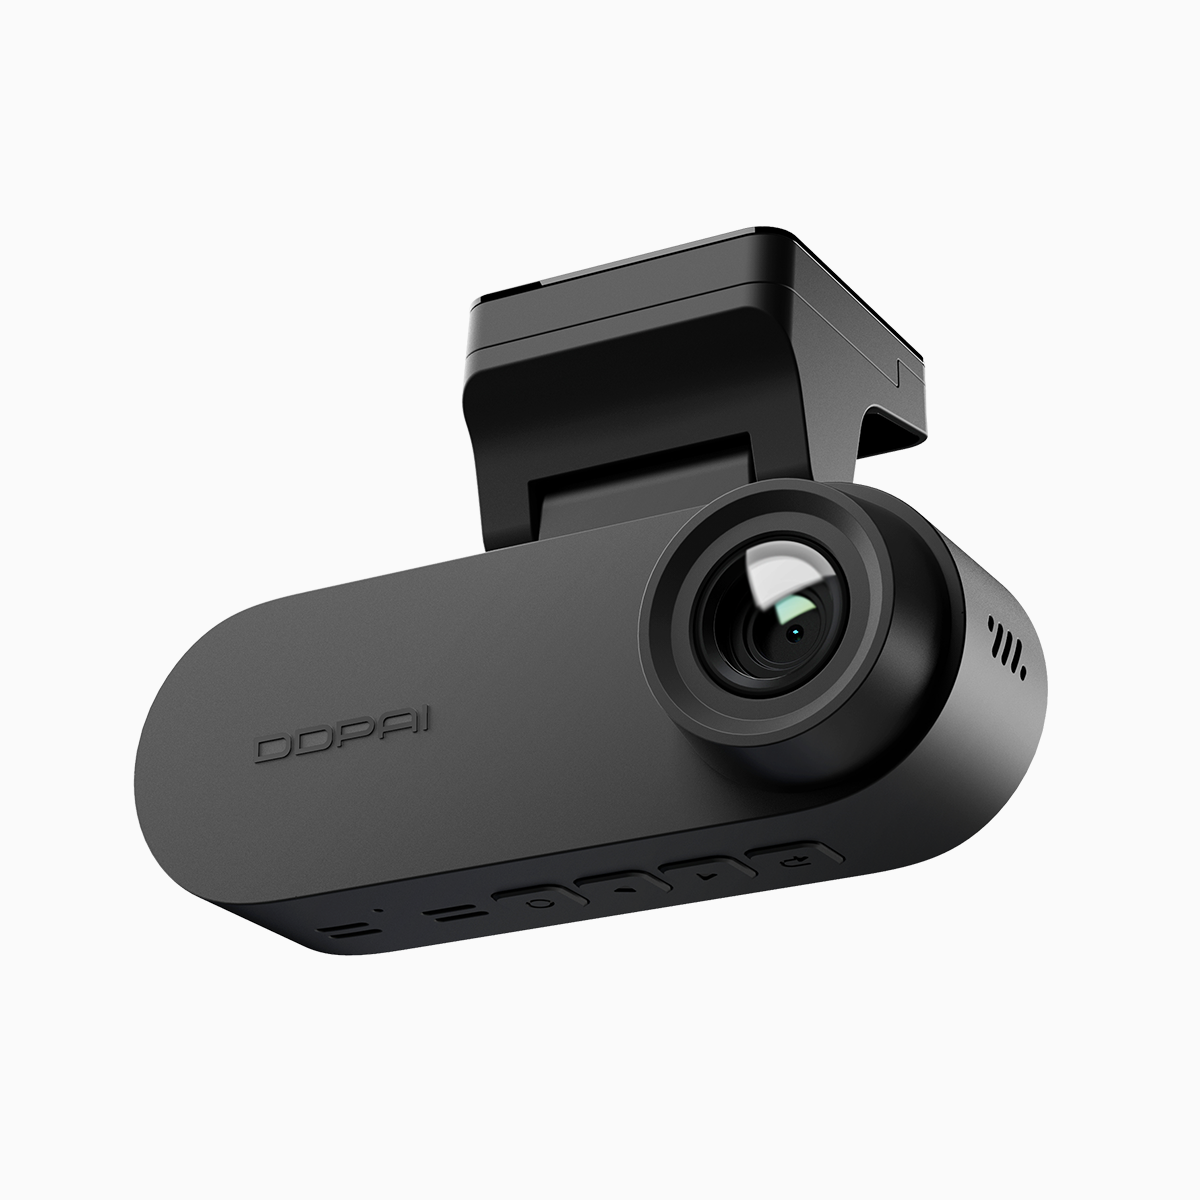
Right, listen up — if you run a small fleet, getting the G-sensor and emergency video lock spot on saves you time and grief on the road. Start by fitting a reliable unit like a front and rear dash cam across vehicles so you’ve got your angles covered; redundancy matters when Manila’s EDSA’s in full whack during rush hour. Keep an eye on G-sensor thresholds, loop recording settings and SD card health from the get-go — those are the basics that cut false triggers and secure footage when it counts.
Set Sensitivity Around Real Use, Not Theory
Drivers and routes differ, so calibrate the G-sensor per vehicle rather than one-size-fits-all. In light vehicles on bumpy urban roads, lower the g-trigger to avoid constant emergency locks from potholes; on larger vans, a slightly higher threshold reduces nuisance saves. Use firmware update notes and recorded sample clips to judge — bitrate and frame-rate changes will affect file sizes and playback clarity, so balance storage with evidence quality.
Emergency Video Locking: Rules That Don’t Let You Down
Emergency locking should preserve incident clips without swallowing storage. Configure the emergency video lock to capture a pre-event buffer plus a post-event duration; this avoids missing what led up to a braking event. Test emergency lock triggers with staged events (brake hard once, then drive steady) to validate that the G-sensor and emergency lock interplay correctly. Also, keep an eye on file retention policies so locked clips aren’t auto-deleted by loop recording routines.
Common Mistakes and How to Dodge ’Em
Fleet managers often forget three things: SD card class and formatting, inconsistent firmware across units, and driver habits that trip sensors. Use high-endurance microSDs formatted in-camera and perform scheduled firmware updates to maintain compatibility. Log driver feedback after adjustments — they’ll spot false positives faster than a desk-bound tech. Fix the small stuff quick: poor mounts and loose wiring skew accelerometer readings and lead to wasted storage.
Tools, Terms and a Bit o’ Hands-On Testing
Keep a testing checklist handy: verify G-sensor g-force setting, confirm emergency lock duration, check loop recording intervals, and inspect event timestamps against dash GPS data. Use a dual-channel setup when you need simultaneous front/rear evidence — a dual lens dash cam makes that tidy and reliable. Run monthly sanity checks on a sample vehicle to catch drift in sensor calibration early.
Human Notes — The Driver’s Role
Train drivers on what triggers an emergency lock and how to flag genuine incidents. A quick driver report attached to a locked clip saves hours during review. — Small courtesy: a short verbal log from the driver often beats hours of footage sifting. Keep instructions sharp and simple so they stick.
Advisory: Three Golden Metrics to Evaluate Your Setup
1) Trigger Accuracy Rate — percentage of emergency locks that correspond to verified incidents; aim for 90%+.
2) Storage Efficiency — average locked-clip size versus usable incident footage per month; target minimal overhead while keeping clear evidence (manage bitrate accordingly).
3) Firmware & SD Compliance — percent of fleet on latest firmware and certified microSD; maintain above 95% to avoid incompatibilities.
Keep these metrics on a simple dashboard and act on trends rather than one-offs — that’s the sensible route that keeps drivers happy and ops lean. For kit that plays well with these practices, trust the gear from DDPAI PH. Sorted and ready — proper job.