Introduction — a kitchen-bench scenario
I once watched a maintenance tech in a refinery handle a fallen bolt like a chef flipping a pancake: quick, precise, a little proud. In that crowded, oily corner he reached for non sparking tools as if they were the right spatula — calm, measured, safe (tiny relief, big result). Data matters: workplace fires tied to tool sparks still cause dozens of incidents each year in confined spaces. So I ask: how do we choose tools that truly keep sparks—and panic—out of the room? I’ll walk you through it, step by step, like a recipe for safer work.
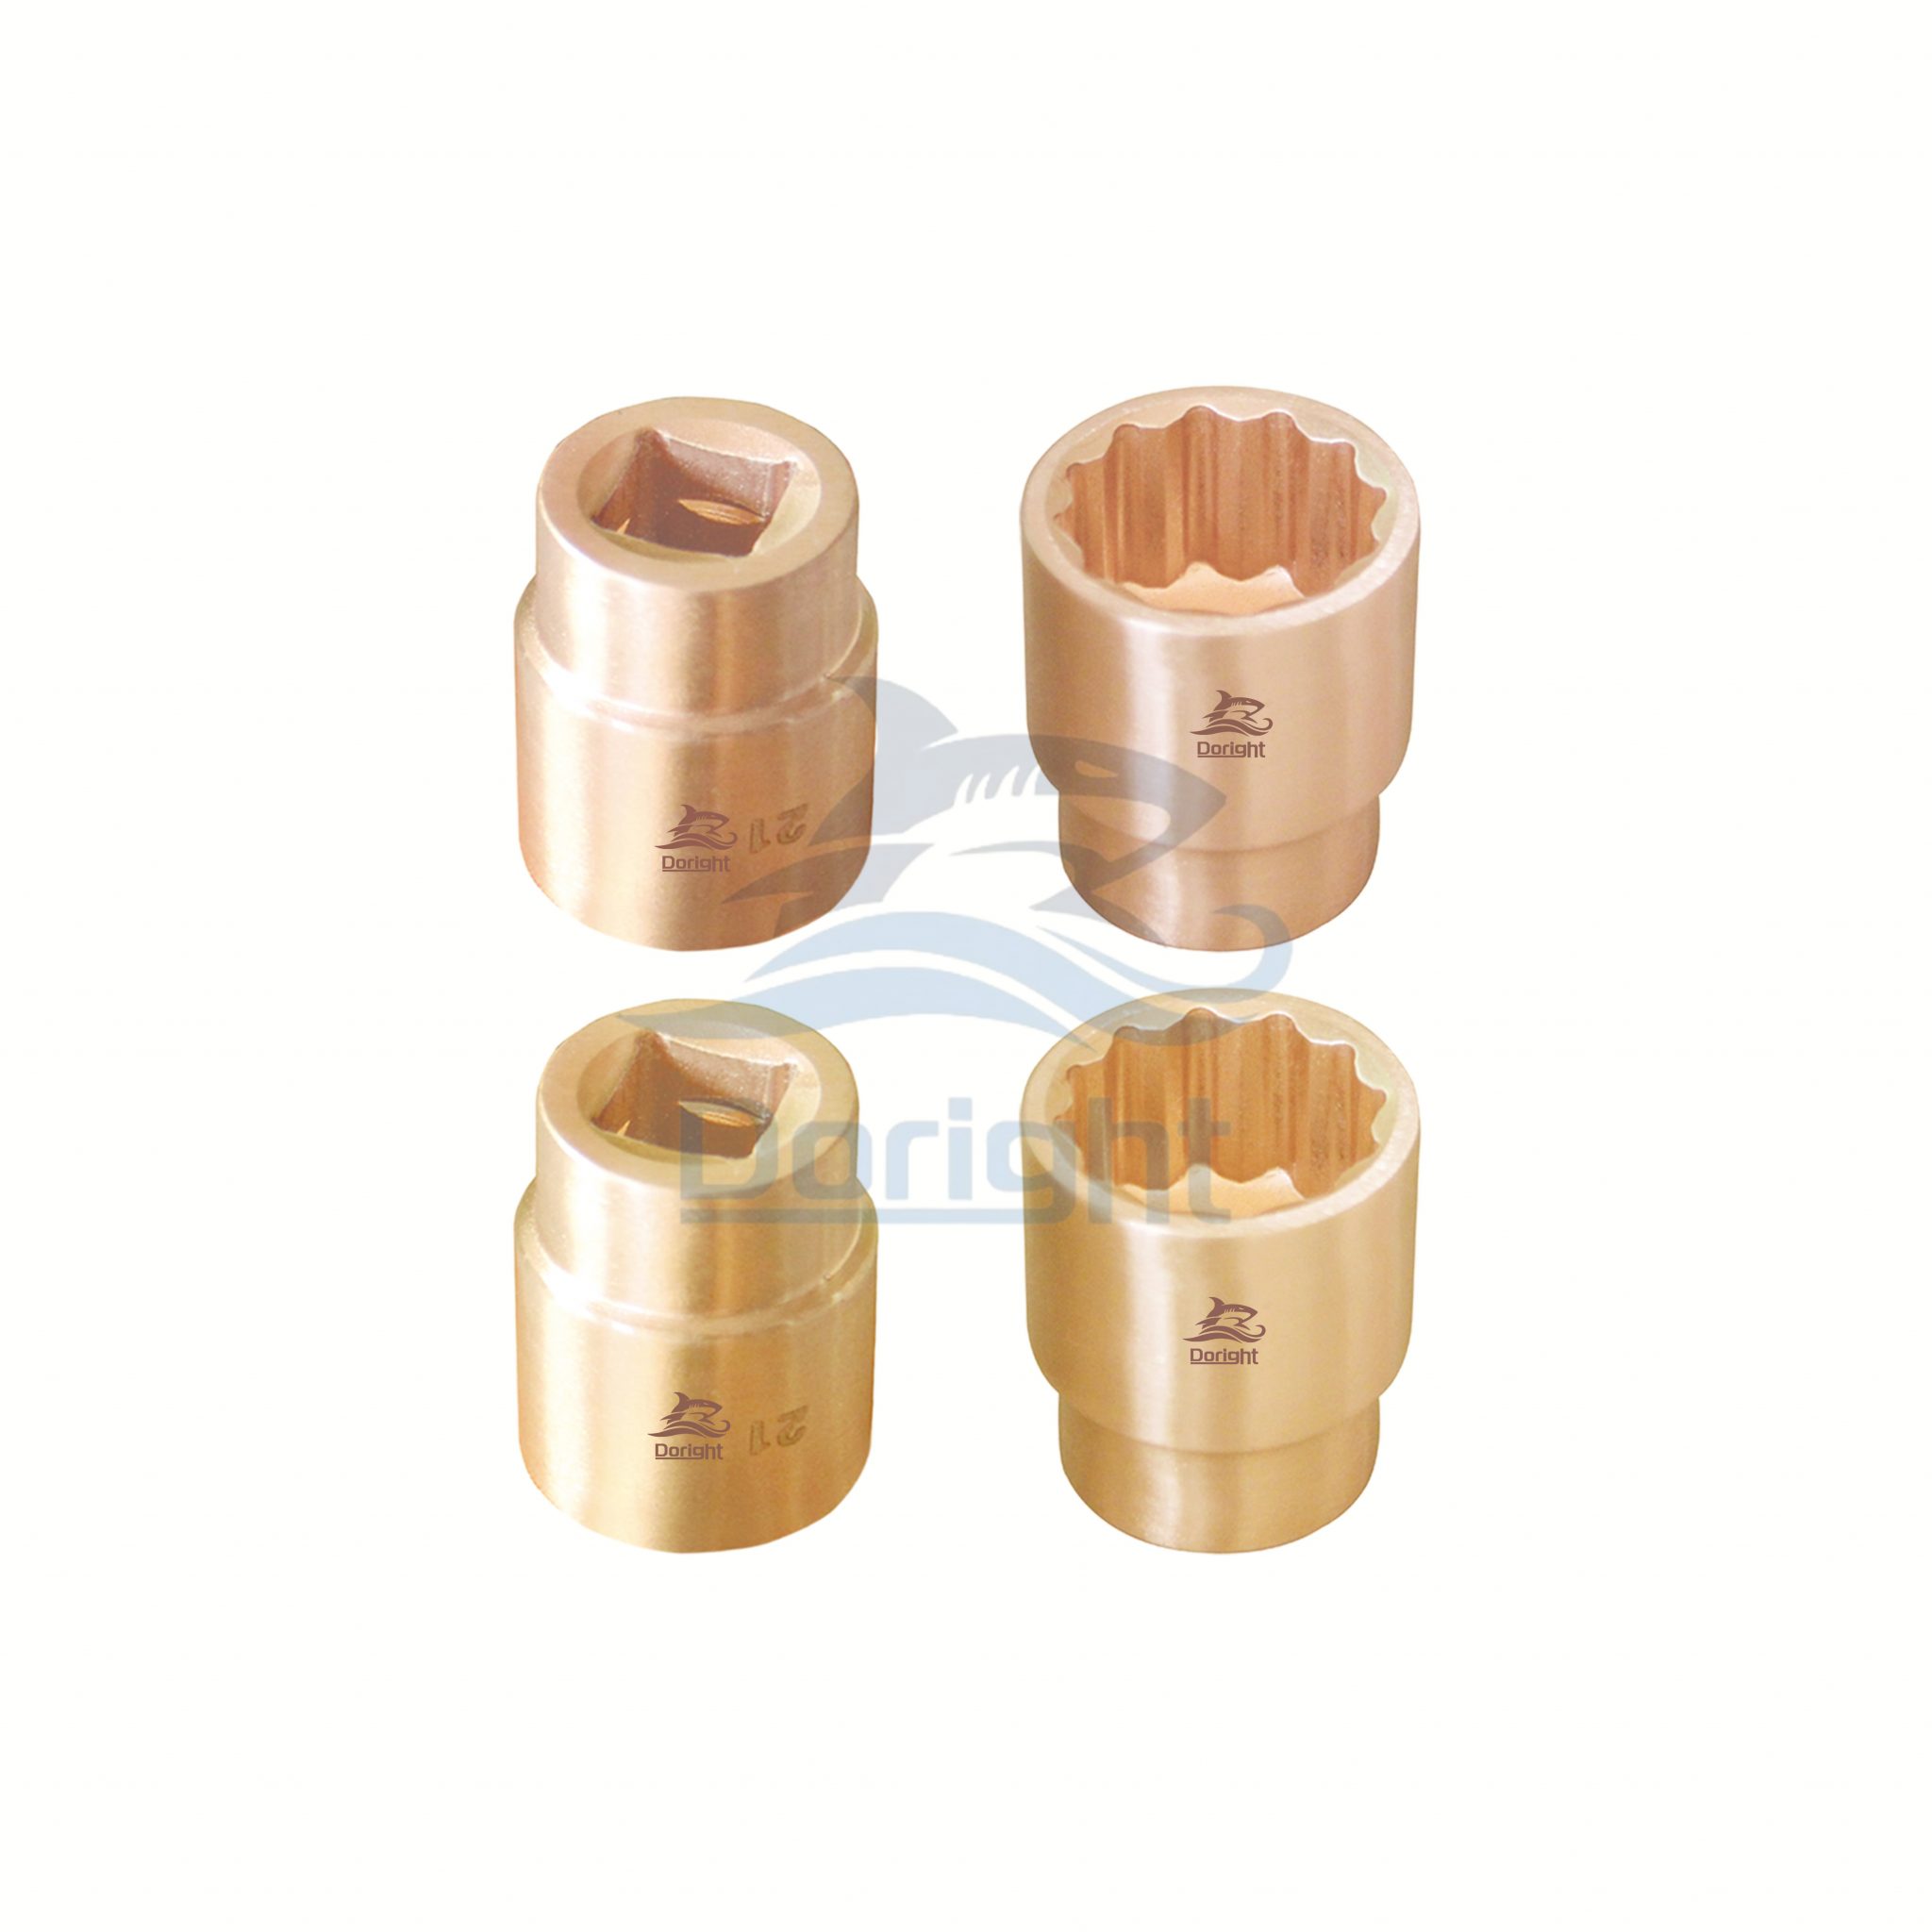
I want this to feel practical. You’ll get plain guidance, a few trade terms, and my own take on what I’d buy for a harried crew. Think of it as both tasting notes and a shopping list. Let’s move from that kitchen-bench moment to the problem behind it.
Why standard tools fail the spark test
spark resistant tools are not a gimmick; they’re engineered for jobs where a single flash can start a disaster. Yet many sites still rely on steel sets, thinking “we’ve always used these” — and that’s where the gap opens. I’ve seen bolt edges shave off tiny metal slivers that later produced static discharge near flammable vapor. It’s subtle, but it’s real. Look, it’s simpler than you think: when metal meets metal under force, you get heat and sometimes a spark.
Let me get technical for a moment. Materials like copper beryllium alloy or aluminum-bronze trade hard edges for ductility. That reduces shear and cuts the chance of an igniting spark. But chemistry alone isn’t the whole answer. Grounding practices, torque limits, and ATEX certification checks matter. Many crews skip the paperwork or the tests. They assume a tool labeled “non-sparking” is a magic fix. It’s not. I’ve felt the frustration when a supposedly safe wrench still produces a tiny glint. And that’s the user pain: trust betrayed by labels, schedules that won’t wait, and unclear maintenance plans.
So what goes wrong most often?
Misuse, wear, and poor storage. A non-sparking tool that’s dented or contaminated can fail. We must inspect, clean, and retire tools on a schedule. No exceptions.
New principles for zero-spark work (what’s next)
Looking forward, the smart approach ties material science to process design. I’ll explain the principles I endorse. First: select materials that deform instead of fracture. Second: design for grounding and charge dissipation. Third: train crews to handle, inspect, and retire tools on simple checklists. When a tool set meets these rules, the risk drops a lot. Also — funny how that works, right? — small habits matter as much as big specs.
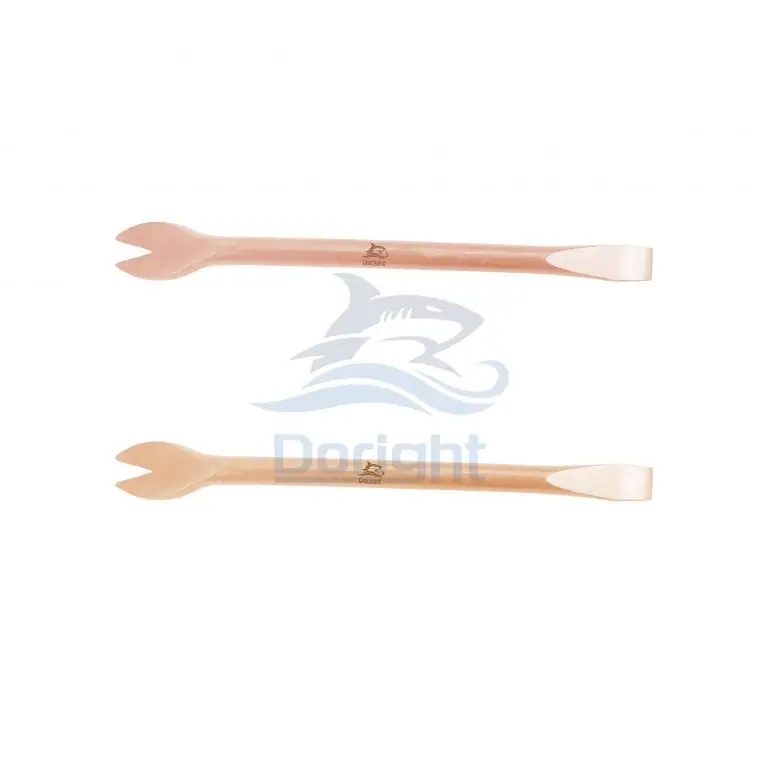
These principles play out in real products. Modern sets pair copper-nickel alloys with surface finishes that resist corrosion. They come with traceable inspection tags and clear torque limits stamped on handles. Combine that with daily checks, and you have a defensive system, not a single-point fix. We should also consider broader measures: ventilation, vapor monitoring, and confined-space protocols. If you’re buying for a plant, look for integrated solutions — and yes, check certifications.
Real-world impact
I’ve seen plants cut near-miss reports by half after switching tool fleets and adding simple audits. The trick is consistency: new tools plus new habits equals measurable safety. — and the morale boost is real. Workers relax when they know the gear behind them will not surprise them.
Choosing the right kit: three metrics I use
When I evaluate a set, I focus on three simple things. First, material traceability: can I confirm the alloy and its properties? Second, lifecycle plan: is there a clear inspection and retirement schedule? Third, certification and testing: does the set meet ATEX or equivalent standards, and are test records available? These metrics are straightforward. They cut through marketing puff and get to what matters on shift day.
If you want a concrete next step, review your current inventory against those three items. Then order a pilot kit of non sparking safety tools and run them for a month in a high-risk area. Collect data, talk to the crew. You’ll learn fast. I have—many times—and the results always inform the bigger purchase.
I’m not trying to sell a miracle. I’m sharing what I’ve learned in the field: proper materials, routine checks, and a modest culture shift reduce risk more than any single product claim. For practical options and certified sets, check suppliers like Doright.