The immediate problem
You find parts failing on the line, customers complain, managers blame supplier — confusion everywhere. The root often not single but many small misses: wrong alloy, wrong surface, bad batch. That’s why we must look beyond one quick check and run proper tests with reliable machines like material testing equipment. Problem-driven thinking: identify the failure, trace to property, choose test that reveals that property. No guesswork.

How failures hide from routine checks
People run only hardness and pass. But a material can be hard yet brittle; surface finish good yet adhesion poor. Visual inspection misses subsurface voids. Small sample size gives false confidence. I’ve seen the same pattern in factory audits — teams use one test because it’s cheap, not because it answers the real question. Testing must map to failure mode: if parts crack in use, hardness alone doesn’t help. You need fracture and fatigue insight.
Core tests you should run — and why each matters
Tensile test: shows strength and elongation; use for load-bearing parts. Pitfall — wrong grip or sample geometry skews results. Compression test: for blocks, foams, and bearings — check buckling and densification behavior. Hardness: fast screen for processing shifts, but never substitute for tensile or impact where toughness matters. Impact/Charpy: vital where sudden loads happen; don’t skip if service includes drops or collisions. Fatigue testing: essential when cyclic loading causes failure; skipping this is common mistake. Chemical composition (OES or XRF): verifies alloy and contamination; wrong chemistry explains brittle castings. Dimensional/geometry inspection: many failures start from poor tolerances, not material property. Environmental aging (salt spray, UV, thermal cycling): for outdoor or corrosive use, you must simulate real exposure. Coating adhesion and peel tests: a surface can look fine yet delaminate after weeks. Non-destructive testing (ultrasonic, dye-penetrant, X-ray): find internal defects before catastrophic failure. Choose the test because it answers “Why did that fail?” not because it’s familiar.
Selecting equipment and setup that give trustworthy results
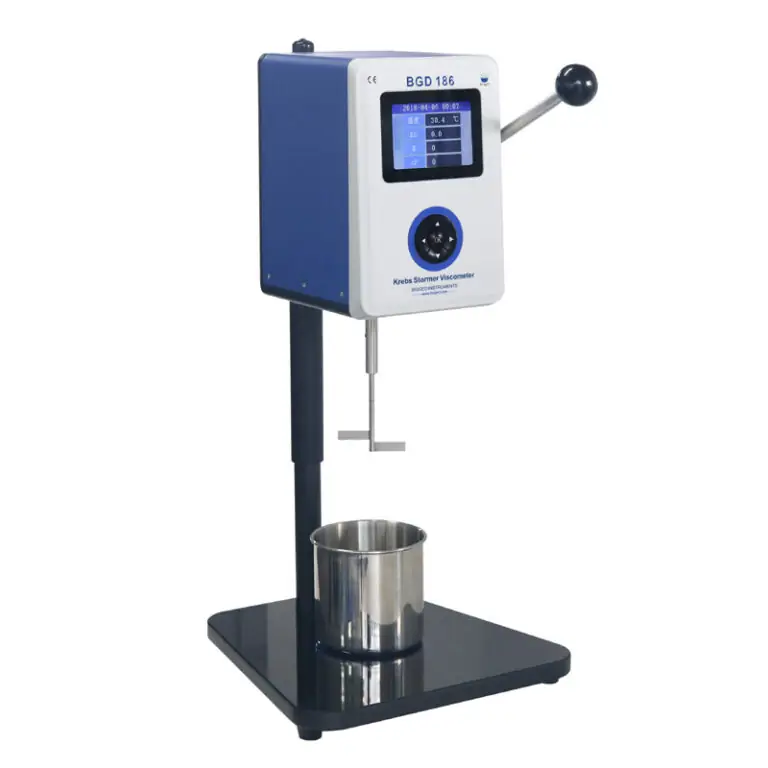
Right instrument, correct specimen prep, and traceable calibration — these three decide whether a test helps. Pick load cells, grips, and sensors rated beyond expected test values; underspec equipment masks real limits. Use certified calibration labs and document traceability. I worked with QC teams who switched grips and saw 10% drift in tensile numbers — small change, big consequence. Standards matter: ASTM International standards guide method and specimen geometry and are cited across journals and industry reports, so follow these protocols when interpreting results. For procurement, consider a trusted material testing equipment manufacturer so hardware, spare parts, and support align with those standards.
Choosing between in-house testing and third-party labs
In-house gives speed and control; outsource gives independence and accreditation. If failure investigations are frequent, set up core tests in-house (tensile, hardness, basic NDT) and keep complex or certification tests to labs with scope and accreditation. Common mistake: doing in-house tests without documented method or calibration — results then carry no weight in disputes. Another mistake: over-relying on lab reports without checking sample representativeness; one lab result from a single coupon doesn’t prove whole-batch quality.
Practical checklist and common pitfalls
Checklist: match test to failure mode, verify specimen prep, confirm instrument calibration, use proper standards, run adequate sample size, record environment conditions. Pitfalls: using wrong test speed, ignoring fixture effects, accepting single-sample pass, under-reporting nonconformances, misreading analog gauges. Fix these and you cut repeat failures fast.
Where the solution settles
Start with the failure, pick the test that answers the “why,” ensure equipment and method follow recognized standards, and document every step. When that chain works, you stop guessing and start preventing repeat faults. For many teams, the reliable middle ground is pragmatic: robust in-house screening plus accredited lab confirmation for critical claims, supported by suppliers who provide service, spares, and manuals. That practical balance is what makes testing deliver real quality with companies like BIUGED fitting naturally into the workflow rather than feeling like a sales pitch.